10 Rental Kitchen Upgrades You Can Undo Before Move-Out
Rental kitchens tend to share the same faults: tired cabinet handles, a plain or stained splashback, one ceiling light and too little worktop. You cannot replace the units, but a handful of small changes shifts how the room looks and how well it works.
Every upgrade here can be reversed in under an hour with no trace, provided you follow the caveats. Kitchens are harder on removable products than other rooms because of heat, steam and grease, so each idea notes where it should not go. Take dated photos of the kitchen before you begin, and keep every original part in a labelled bag.
Surfaces and finishes
1. Swap the cabinet handles
New handles change the look of a kitchen more than their price suggests. They are held by one or two screws from inside the door, so the swap needs only a screwdriver.
The key measurement for two-screw handles is the distance between the screw holes, centre to centre. Common sizes are 3 in (76 mm), 3¾ in (96 mm) and 5 in (128 mm). Buy the same spacing and the new handles use the existing holes. For single-screw knobs, any knob fits. Put the originals and their screws in a bag and tape it inside a cupboard. Most landlords do not mind, but a quick email asking first costs nothing. Cost: $2–$6 (£1.50–£5) per handle.
2. Add a peel-and-stick splashback
Adhesive tile sheets go over smooth existing tiles or sound, glossy paint and lift a plain wall quickly. Clean the surface with a degreaser first, rinse and let it dry fully. Grease is why these fail in kitchens.
Heat caveat: vinyl and gel tiles soften and can scorch near direct heat. Do not use them right behind a gas hob or within the clearance the tile maker gives for cookers and toasters, which is often around 8 in (20 cm) or more. Behind the hob, a freestanding tempered-glass or stainless-steel splash panel resting on the worktop is the safer choice. On painted walls, run a test piece for two weeks to check it removes cleanly. Cost: $20–$60 (£16–£50) for a typical run.
3. Cover worn worktops with care
Thick adhesive vinyl made for worktops can hide a scratched or dated laminate surface. It works on laminate and other smooth, sealed surfaces. It is not suitable for unsealed wood or stone, where the adhesive can stain.
Be realistic about what it is: a thin plastic skin. It is not heatproof, so always use trivets. It cuts easily, so always use a board. Water creeps under seams near the sink, so plan the joins away from it and wipe spills promptly. If that sounds like too much care, large chopping boards and a tray do a similar job of hiding a tired surface with no adhesive at all. Cost: $20–$50 (£16–£40).
4. Line shelves and drawers
Non-adhesive shelf liner cut to size makes old cupboards feel clean and protects them from new marks while you live there. Choose the grip type that stays put by friction, not the self-adhesive kind, which can bond to old melamine. Cost: $8–$15 (£6–£12) a roll.
Light and layout
5. Fit rechargeable under-cabinet lights
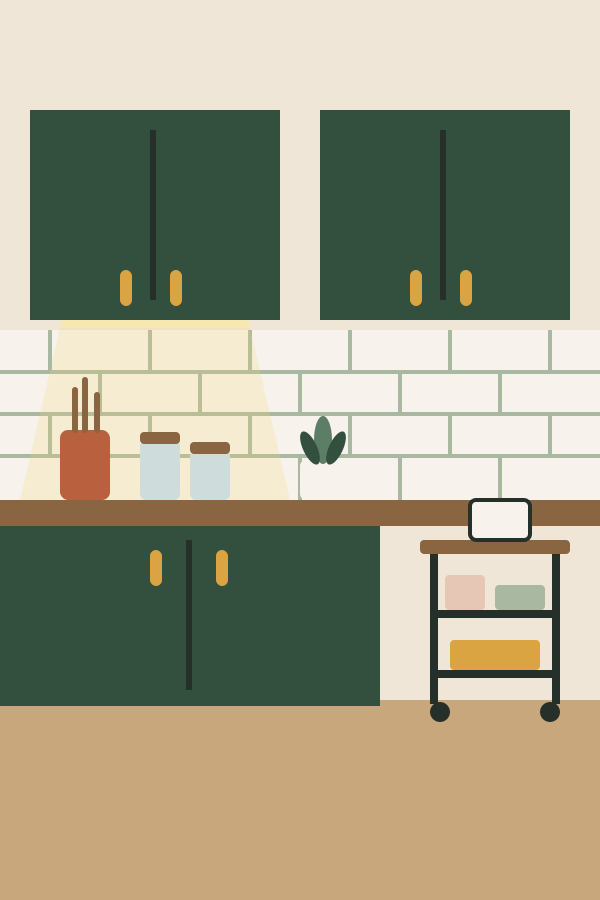
Light on the worktop makes the biggest practical difference to cooking. Rechargeable LED bars fix beneath wall cabinets with magnetic strips and need no wiring. Use warm or neutral white, 2700–3000 K, and mount them towards the front edge of the cabinet so they light the work area and not just the wall. Cost: $12–$30 (£10–£25) each.
6. Bring in a rolling cart or small island
A cart with a solid top adds worktop and storage in one piece. A typical size is 24 × 16 in (60 × 40 cm) and about 35 in (90 cm) high, which matches standard counter height. Lockable wheels matter if you will chop on it. Leave at least 36 in (91 cm) of walkway between the cart and the units, and keep it clear of the oven door swing. Cost: $50–$150 (£40–£130).
7. Use an over-sink drying rack
A roll-up rack of silicone-coated steel rods sits across the sink and works as a draining rack, a rinsing station and extra surface, then rolls away. Measure the sink front to back and buy a rack at least 2 in (5 cm) longer. This frees the worktop a dish drainer would occupy. Cost: $12–$25 (£10–£20).
Storage and details
8. Double the cupboard space with inserts
Freestanding shelf risers, under-shelf baskets and tiered racks for tins use the full height of each cupboard. Over-cabinet-door hooks hold tea towels and a small bin for scraps. Magnetic racks on the fridge side take spices and kitchen roll. None of these touch a wall. For more, see 12 small-apartment storage ideas.
One thing to avoid is a knife rack held up only by adhesive. Knives are heavy and the consequences of a fall are obvious. Use an in-drawer knife block or a countertop block.
9. Decant and group what stays on the counter
Mismatched packets make a small kitchen look busier than it is. Move the things you use daily, such as oil, salt, utensils and coffee, onto one tray beside the hob, and decant dry goods into matching lidded jars. One tray reads as one object. Label jars with contents and the best-before date from the packet. Cost: $15–$40 (£12–£35).
10. Soften it with a rug, a plant and a curtain
A washable flat-weave runner, around 2 × 6 ft (60 × 180 cm), covers tired flooring and is kinder underfoot. It must have a non-slip backing or underlay, since kitchens get wet. Keep it away from the area directly in front of the oven if you often carry hot dishes there.
A cafe curtain on a tension rod or static-cling window film adds privacy without fixings, and a pot of herbs on the sill finishes it. Static-cling film has no adhesive: it goes on with soapy water and peels off cleanly. Keep fabric well away from the hob.
Undoing it all at move-out
- Refit the original handles, using the original screws.
- Warm adhesive tiles and vinyl with a hairdryer on low, and peel slowly at a shallow angle.
- Remove residue with warm soapy water. On laminate and glazed tile, a little rubbing alcohol on a cloth shifts what is left. Test a corner first.
- Slide magnetic light strips off sideways instead of pulling them straight out.
- Take out liners and inserts, clean the cupboards and compare against your before photos.
Frequently asked questions
Can I change cabinet handles in a rental?
Usually yes, because the change is fully reversible with a screwdriver. Match the hole spacing so no new holes are needed, keep the original handles and screws, and ask the landlord if the lease is strict about alterations.
Is peel-and-stick splashback safe behind a cooker?
Not directly behind a gas hob or close to any direct heat source. Follow the clearance given by the tile maker, and use a freestanding glass or steel splash panel behind the hob.
Does contact paper damage countertops?
On smooth laminate it normally peels off cleanly when warmed and removed slowly. On unsealed wood, stone or damaged laminate it can leave residue or stains, so test a small hidden area first.
How can I make a rental kitchen look better cheaply?
New handles, under-cabinet lights and a tidy tray for everyday items make the biggest difference for the least money. Together they cost roughly $60 to $130 (50 to 110 pounds).
How do I add counter space in a small rental kitchen?
Use a rolling cart with a solid top at counter height, a roll-up rack over the sink and a large chopping board that sits over the hob only when it is switched off and fully cool.
Will peel-and-stick tiles come off at move-out?
From glazed tiles they usually come off cleanly with gentle heat. From painted walls it depends on the paint, so run a two-week test piece before covering the whole area.